

Why make a business card?
Honestly, I don’t need one. Since most of my time is spent in front of a computer or in meetings, it’s not something I’ll use very often. I could say I’d use them to schmooze at a tech conference and be useful for my career.
But the real reason why I made this was to test out my new 3D Effect Plate that I got for Christmas. (Thanks to my wife <3)
If you don’t already know how 3D printers work, I’d recommend checking out this video by Jared Owen on Youtube.
Carbon Fiber Effects Plate
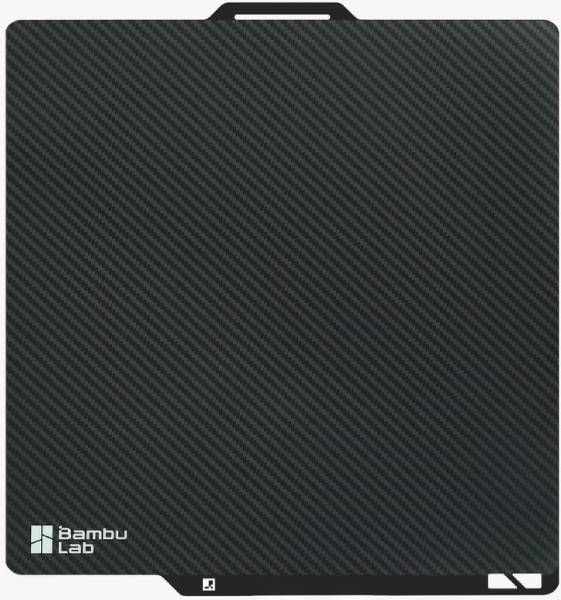
The part of the 3D printer at the bottom, where the parts are sitting, is called the print bed. Melted plastic is placed on this bed using the printer’s extruder, and will fill any nooks and crannies that may be on the bed.
That’s where my new toy comes in - it transfers a carbon fiber pattern/texture on the bottom face of the part. Essentially, the plastic from the 3D printer will melt into the tiny grooves that make up the carbon fiber pattern. Once the print cools, the pattern remains on the plastic surface.
I was eager to play with this, and figured a good way to test it out would be to print a flat surface. Turns out, a business card fits this role perfectly!
Design Process
For my business card design, I had a short list of requirements:
- Must have a QR code that will take you to my website.
- Must have my name and some basic contact info.
- Must be 3D printable, ideally with 2 colors to use my multi-color printer.
I tried finding business card templates online, but I wasn’t happy with what I had found. There were a couple of QR code business cards templates, but only the QR code was editable, the rest of the design remained.
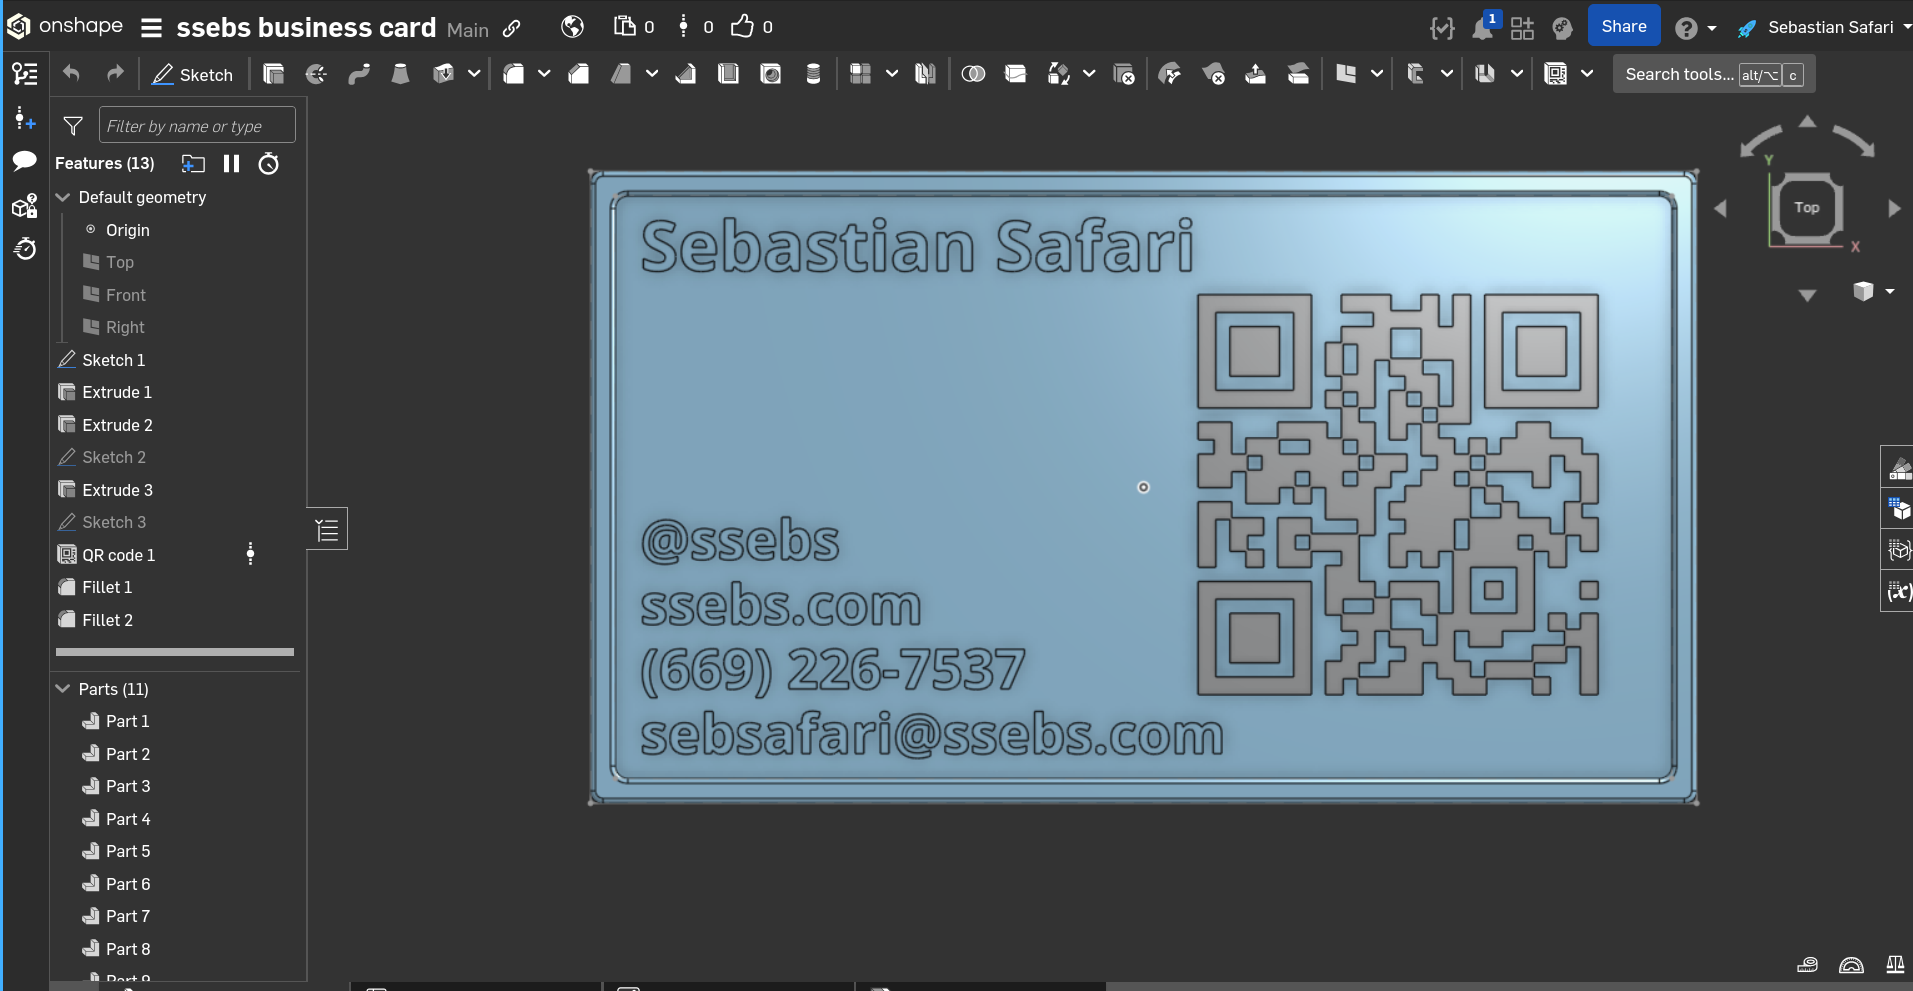
Since I’m already learning 3D Modeling for my Mini Macro Pad project, I figured I should just design it on my own. I used OnShape for the design process. It’s a free platform, which means all my models are public (by force) - feel free to check out the CAD model for yourself!
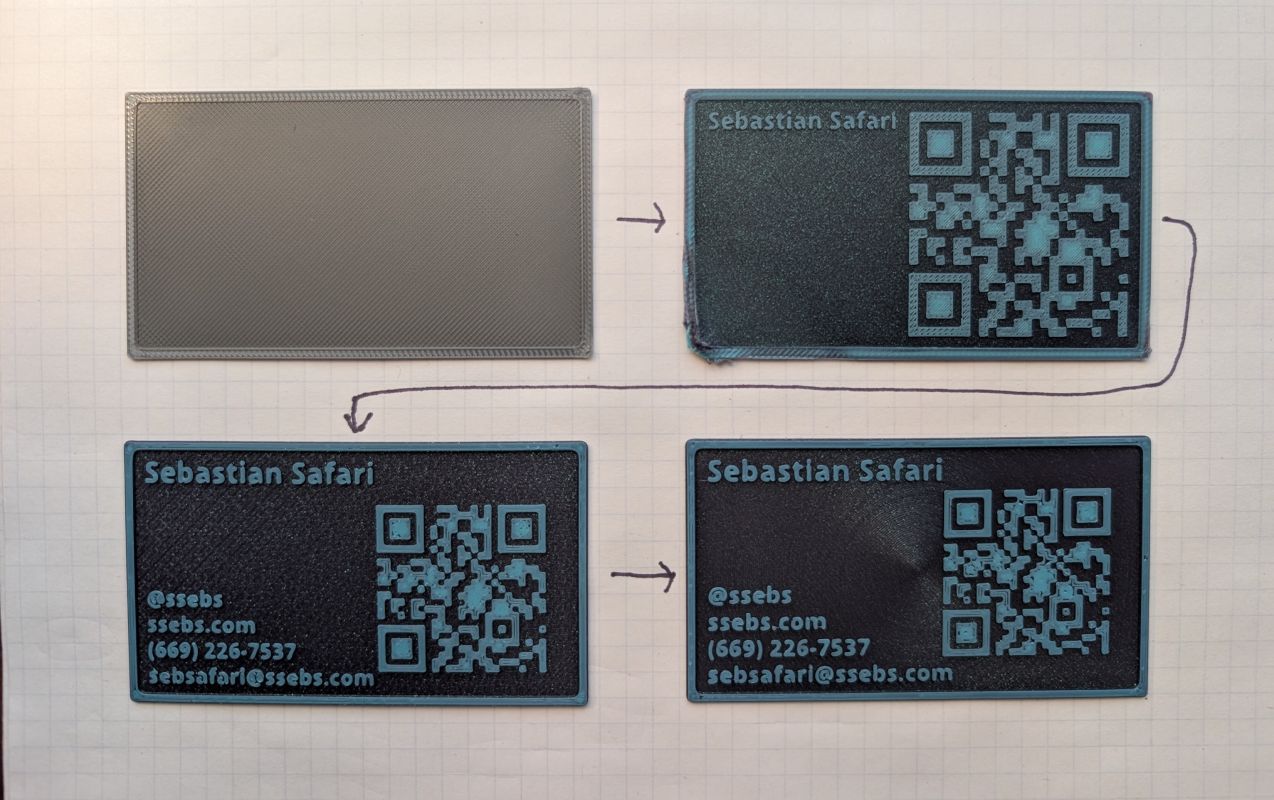
I started with a basic 3.5" by 2" rectangle, and printed that to make sure the pattern was visible. It turns out, there’s a few tweaks I needed to make in my 3D printing slicer software to get it looking decent. After changing the bed temp settings, and adding a bit more to my 3D model, the next iteration came. Then, I noticed some of the text was missing - this was due to how small it was physically. After increasing the font size, making the text bold, and double checking in the slicer once more, I had a completed business card!
You can see the iterative design process:
Finished prints
In the end, it took ~4 iterations to get the design just right, but I’m pretty happy with the final result. I especially like that the card is transparent, so you can see the details in the light.
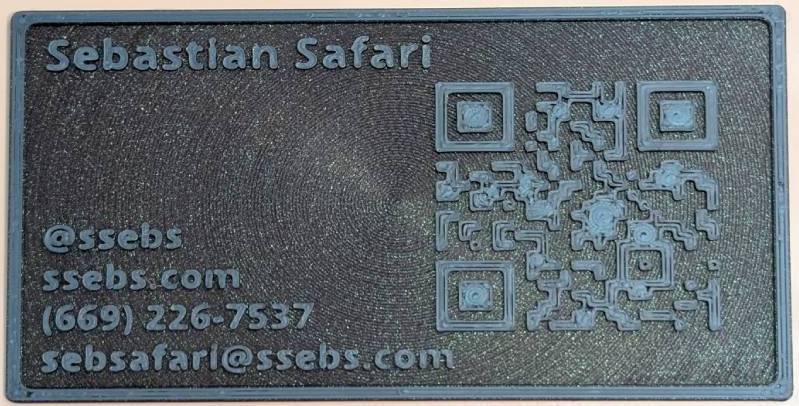
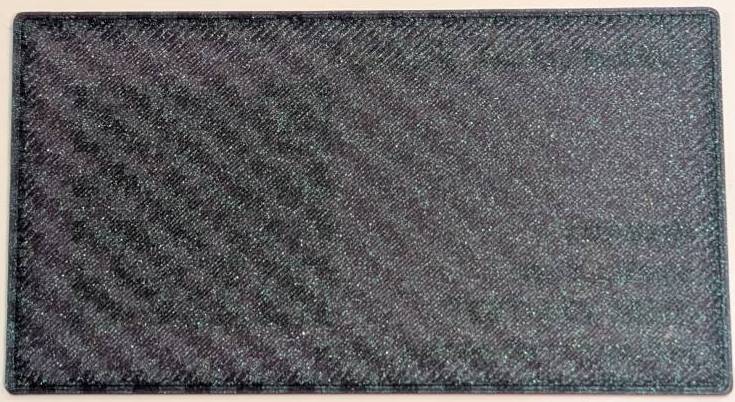
The back features the carbon fiber texture:
As for how I’ll use this card… who knows? Maybe I’ll hand it out at an AWS Summit or drop it in a bowl to win a free dinner.
Either way, I got to play with my new print bed!
Thanks for reading!
Leave a comment!